


熱門推薦
-

愛什麼別愛錯人,累什麼別累了心
 910 觀看
 -

你那麼努力,有多少幸福在你左右?
840 觀看 -

《老闆只能給你機會,不能給你榮華富貴》
801 觀看 -
-

鷹,不需要鼓掌,也在飛翔!
2124 觀看 -
我生病請假休息,婆婆說沒買菜做飯,我打開冰箱後決定送她回家
1143 觀看 -

人這一生,做好這一件事就夠了!
838 觀看 -

深深的體諒
657 觀看 -

在家偷偷減肥的秘招
1966 觀看 -

冰箱的正確使用方法竟然是……原來我們都錯了!
1655 觀看 -

咖啡的苦與甜
1001 觀看 -

《老人的金言
909 觀看 -
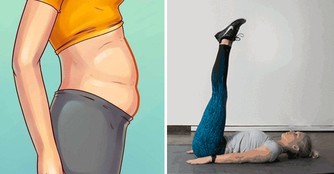
「腰間贅肉」會影響五臟健康?教你7組動作讓腹部肌肉更緊實!
4365 觀看 -

創意vs人際
1330 觀看 -

職場保命萬靈丹!職場人際關係要好就要靠這幾招走跳江湖!
1139 觀看 -

問題出現的那一瞬間,一定要控制好情緒
709 觀看 -

改變人生的不是大道理,而是小習慣
687 觀看 -

【活在當下】過去讓它過去,未來留給未來,把握現在,才能把握機會!
1625 觀看 -

女人經常吃這個,滿滿膠原蛋白,突然年輕了!
2490 觀看 -
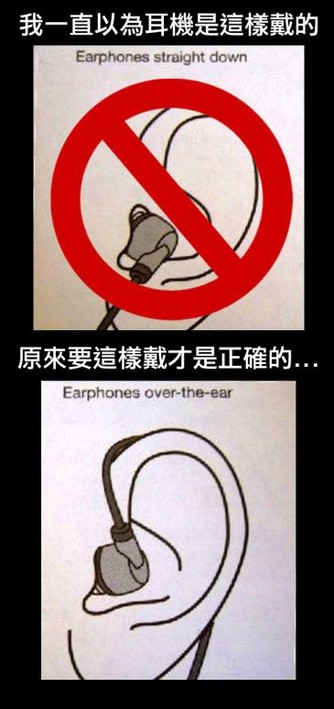
我現在才知道耳機是這樣用的!
937 觀看 -

男人與女人,就像茶和水 夜長不可怕,可怕的是...
1074 觀看 -

砧板上「抹點油熱一熱」,不怕發霉跟乾裂,趕快學起來!
887 觀看 -

生日尾數是幾的女人,天生佛緣深厚,財運亨通!!!
11661 觀看 -

愛是天長地久、是相守(推薦好文)
638 觀看 -

年年有餘 這7款大廚級蒸魚做法錯過多可惜
3445 觀看 -

感謝今生相遇的每個人!
2605 觀看 -

識人三十六計!
531 觀看 -

岳母住我家,家裡少了3千塊錢,進房間看見一張紙,我送她4萬!
3537 觀看 -

「身分證複印件」千萬不要這樣用,有法律風險!有人已經中招了!
16826 觀看 -

日本禁售生豬肝,動物內臟到底能不能吃?會不會中毒?今天告訴你
3575 觀看 -

送給男人女人那些關於愛情的話
5945 觀看 -

人生,沒有下輩子!(句句穿心)
619 觀看 -
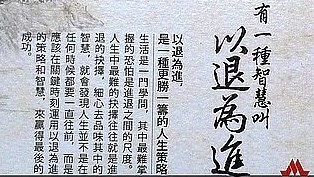
《以退為進,就是智慧!》
1277 觀看